
Let’s get one thing out of the way:
Proxmox upgrades are not fragile.
People are.
Most guides assume:
- nothing goes wrong
- you don’t interrupt anything
- you don’t get stuck in a pager
- you don’t panic halfway
That’s not reality.
This guide is based on an actual upgrade — including:
- interrupted upgrade
- broken package state
- lock issues
- recovery
If you follow this, you’ll finish the upgrade even if things go sideways.
🧭 What This Covers
- Proxmox VE 8 → 9
- No-subscription repo
- Single-node homelab (or small cluster)
- GPU passthrough setups (Plex, etc.)
- Recovery from broken upgrades
⚠️ Before You Start (Do Not Skip This)
1. Backup
If your backups are “probably fine”, they are not fine.
- Backup all VMs and containers
- Test restore if you’re serious
2. Upgrade to latest Proxmox 8 first
apt updateapt dist-upgrade3. Run the upgrade checker
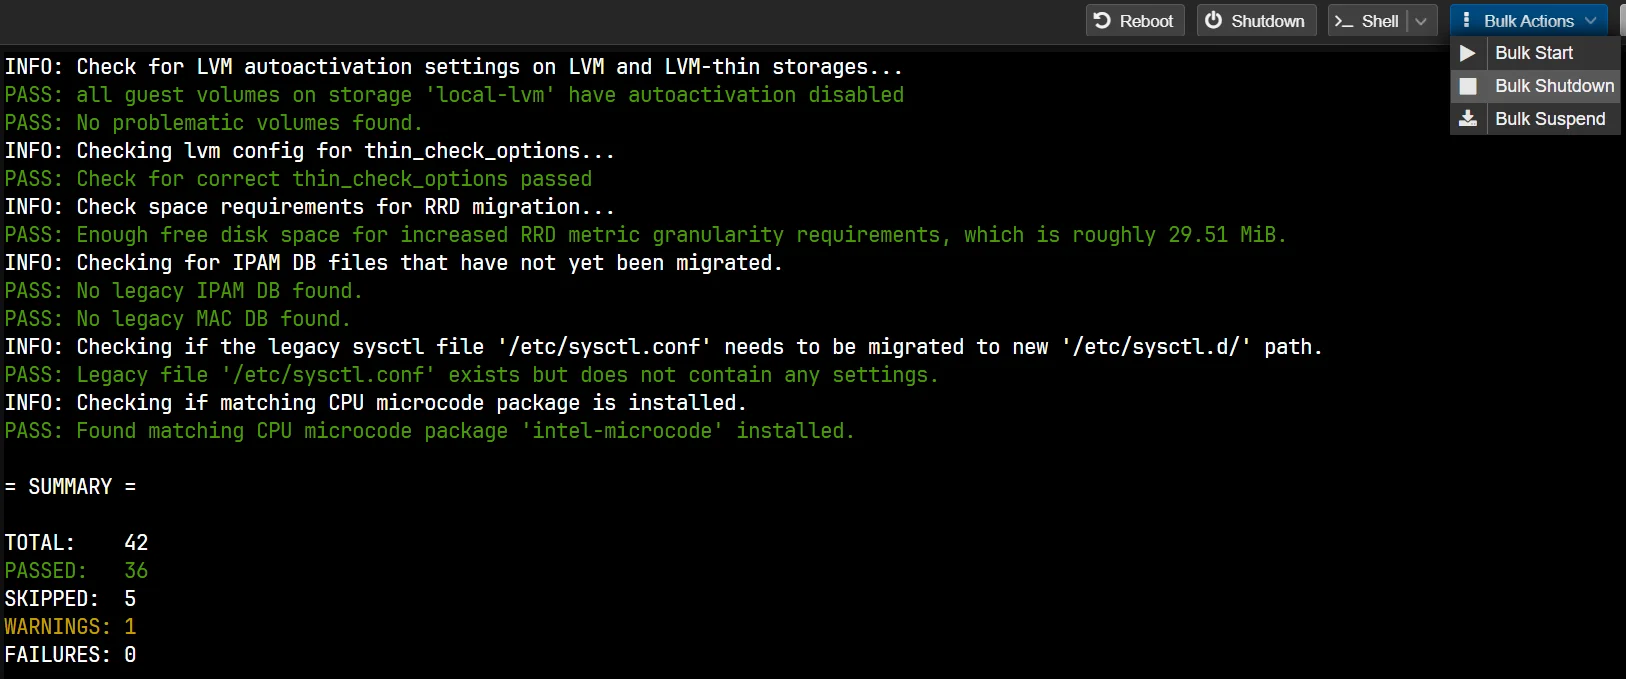
pve8to9 --fullYou want:
- ❌ 0 failures
- ⚠️ warnings are acceptable
4. Disk space
df -h /Minimum:
- 5GB usable
- 10GB preferred
Here is an example:
root@pve2:~# df -h /Filesystem Size Used Avail Use% Mounted on/dev/mapper/pve-root 94G 11G 79G 12% /🛑 Stop Everything (Yes, Everything)
Before touching repositories:
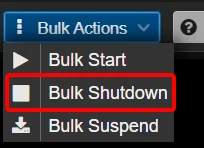
From UI:
Node → Bulk Actions → Bulk Shutdown
This is not optional if you care about stability.
Why?
Because during upgrade:
- networking restarts
- services reload
- kernel changes
Running VMs during this:
- can hang
- can corrupt writes
- can behave unpredictably
You gain nothing by keeping them running.
🚀 Phase 1 — Switch Repositories
1. Switch Debian to Trixie
sed -i 's/bookworm/trixie/g' /etc/apt/sources.list2. Remove old Proxmox repo
rm /etc/apt/sources.list.d/pve-install-repo.list3. Add Proxmox 9 repo (no-subscription)
cat > /etc/apt/sources.list.d/proxmox.sources << EOFTypes: debURIs: http://download.proxmox.com/debian/pveSuites: trixieComponents: pve-no-subscriptionSigned-By: /usr/share/keyrings/proxmox-archive-keyring.gpgEOF4. Remove Ceph repo (if unused)
rm /etc/apt/sources.list.d/ceph.list 2>/dev/nullrm /etc/apt/sources.list.d/ceph.sources 2>/dev/nullHere is how it should go as an example:
root@pve2:~# sed -i 's/bookworm/trixie/g' /etc/apt/sources.listroot@pve2:~# rm /etc/apt/sources.list.d/pve-install-repo.listroot@pve2:~# cat > /etc/apt/sources.list.d/proxmox.sources << EOFTypes: debURIs: http://download.proxmox.com/debian/pveSuites: trixieComponents: pve-no-subscriptionSigned-By: /usr/share/keyrings/proxmox-archive-keyring.gpgEOFroot@pve2:~# rm /etc/apt/sources.list.d/ceph.list 2>/dev/nullrm /etc/apt/sources.list.d/ceph.sources 2>/dev/nullroot@pve2:~#5. Update
apt update6. Verify
apt policyYou should NOT see:
- ❌ bookworm
You SHOULD see:
- ✅ trixie
- ✅ pve-no-subscription
Example of the apt policy command:
Package files: 100 /var/lib/dpkg/status release a=now 500 http://download.proxmox.com/debian/pve trixie/pve-no-subscription amd64 Packages release o=Proxmox,a=stable,n=trixie,l=Proxmox Debian Repository,c=pve-no-subscription,b=amd64 origin download.proxmox.com 500 https://deb.nodesource.com/node_22.x nodistro/main amd64 Packages release o=. nodistro,a=nodistro,n=nodistro,l=. nodistro,c=main,b=amd64 origin deb.nodesource.com 500 http://security.debian.org/debian-security trixie-security/main amd64 Packages release v=13,o=Debian,a=stable-security,n=trixie-security,l=Debian-Security,c=main,b=amd64 origin security.debian.org 500 http://deb.debian.org/debian trixie-updates/main amd64 Packages release v=13-updates,o=Debian,a=stable-updates,n=trixie-updates,l=Debian,c=main,b=amd64 origin deb.debian.org 500 http://deb.debian.org/debian trixie/contrib amd64 Packages release v=13.4,o=Debian,a=stable,n=trixie,l=Debian,c=contrib,b=amd64 origin deb.debian.org 500 http://deb.debian.org/debian trixie/main amd64 Packages release v=13.4,o=Debian,a=stable,n=trixie,l=Debian,c=main,b=amd64 origin deb.debian.org🔥 Phase 2 — The Upgrade
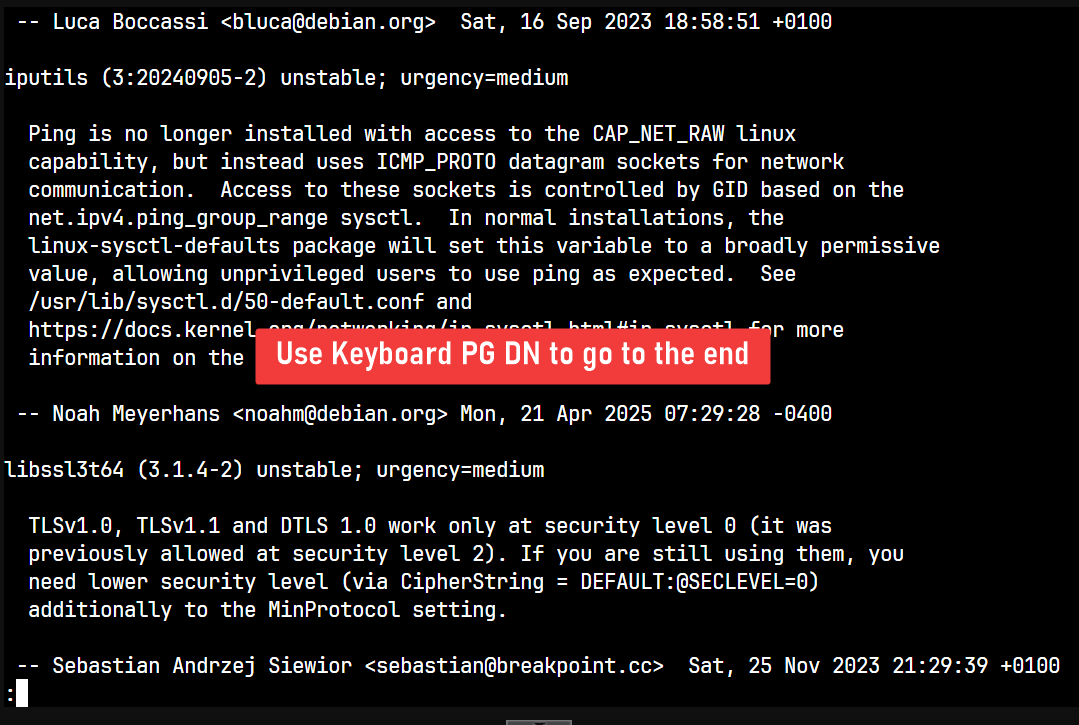
apt dist-upgradeThis process may show you additional screens. For example the below screen you can either PG DN multiple times, to go to the end or simply press q
⚠️ What Will Trip You Up
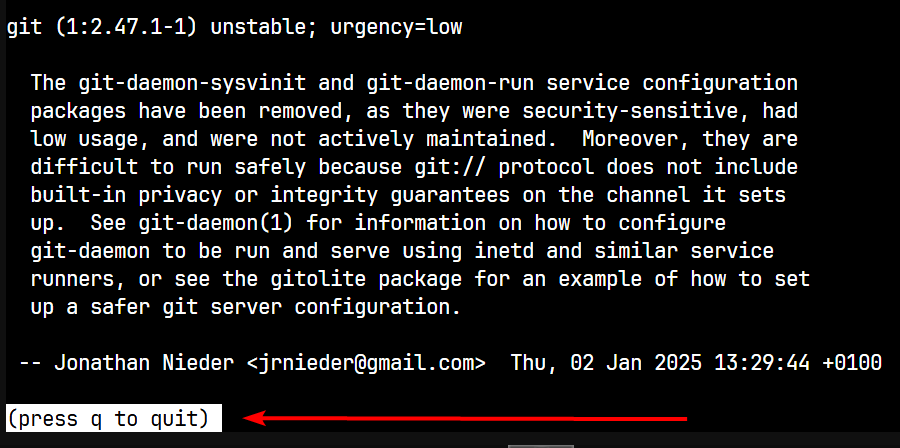
Pager screen
You’ll see: lines xx-xx (END)
Press: q
Config prompts
(Y/I/N/O/D/Z)
If unsure: → press Enter
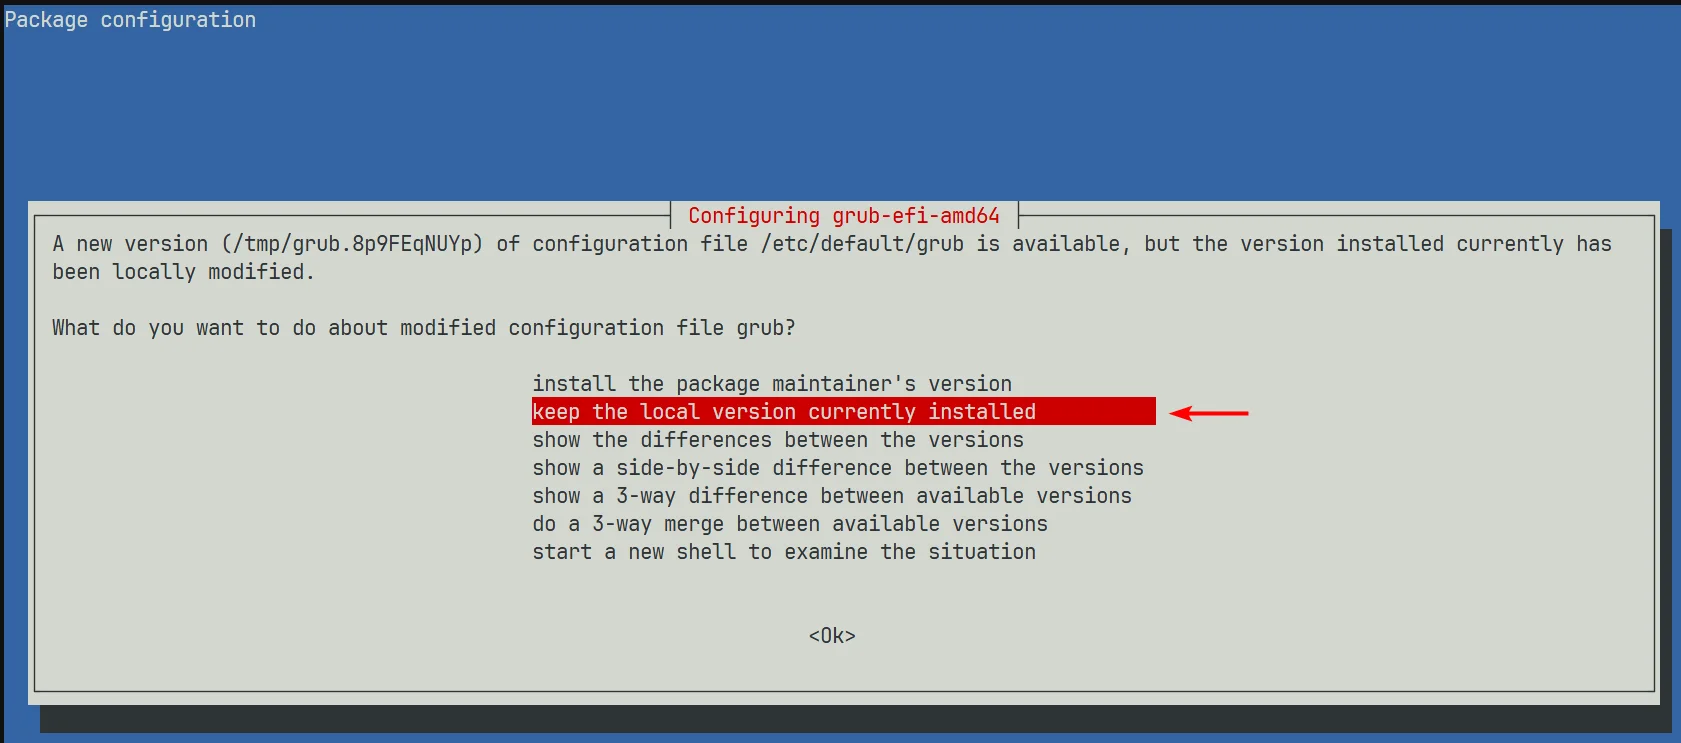
You may see other screens like this below, just keep the local version if you are not sure:
💥 If You Interrupt the Upgrade
Recovery
ps aux | grep aptkill -9 <PID>dpkg --configure -aapt -f installapt dist-upgradeRepeat until clean.
✅ Phase 3 — Finalization
Check version
pveversionThis command should output something like this below, note the version number is 9.x.x.
root@pve2:~# pveversionpve-manager/9.1.7/16b139a017452f16 (running kernel: 6.8.12-20-pve)Reboot
rebootOr you can just click on the UI.
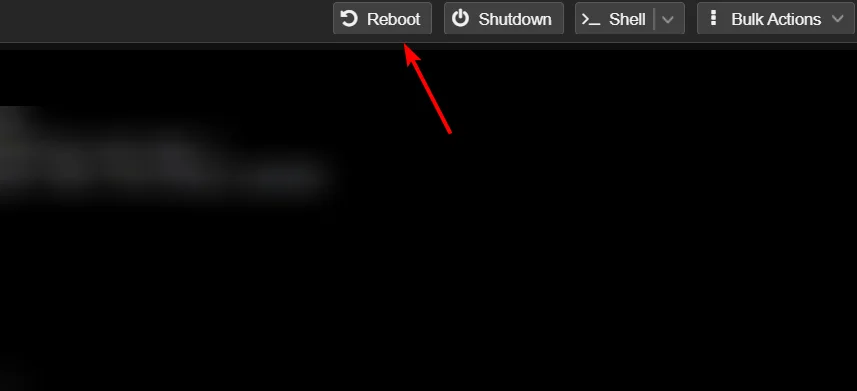
The reboot process will take some time. Once it is done, do not forget to force refresh your web access UI. (usually cmd+R or ctrl+R)
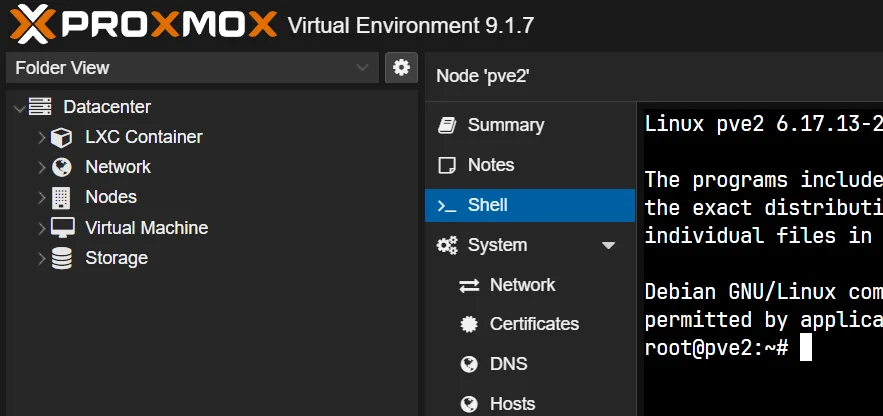
Confirm kernel
uname -r⚠️ Important Change
/etc/sysctl.conf is no longer used
Move configs to: /etc/sysctl.d/
🔍 Post-Upgrade Checks
You should only do this if any of your VM is running plex and uses NVidia card passthrough.
GPU check
nvidia-smiNVENC check
ffmpeg -encoders | grep nvencReal test
ffmpeg -f lavfi -i testsrc=duration=5:size=1280x720:rate=30 \-c:v h264_nvenc -f null -🧹 Cleanup
apt autoremoveapt modernize-sourcesExample apt autoremove. Press Y to remove:
root@pve2:~# apt autoremoveREMOVING:  libxenmisc4.17  proxmox-kernel-6.8.12-17-pve-signed
Summary:  Upgrading: 0, Installing: 0, Removing: 2, Not Upgrading: 0  Freed space: 579 MB
Continue? [Y/n] Y
Here is the example of apt modernize-sources. Press Y to continue.
root@pve2:~# apt modernize-sources
The following files need modernizing:  - /etc/apt/sources.list  - /etc/apt/sources.list.d/pve-enterprise.list  - /etc/apt/sources.list.d/pvetest-for-beta.list
Modernizing will replace .list files with the new .sources format,add Signed-By values where they can be determined automatically,and save the old files into .list.bak files.
This command supports the 'signed-by' and 'trusted' options. If youhave specified other options inside [] brackets, please transfer themmanually to the output files; see sources.list(5) for a mapping.
For a simulation, respond N in the following prompt.Rewrite 3 sources? [Y/n] Y
Modernizing /etc/apt/sources.list...- Writing /etc/apt/sources.list.d/debian.sources
Modernizing /etc/apt/sources.list.d/pve-enterprise.list...
Modernizing /etc/apt/sources.list.d/pvetest-for-beta.list...🤦♂️Gotcha - apt modernize-sources
Be careful about the command
apt modernize-sources, this will add back the enterprise repo, and that will start to give you errors when runningapt-get updatecommand.
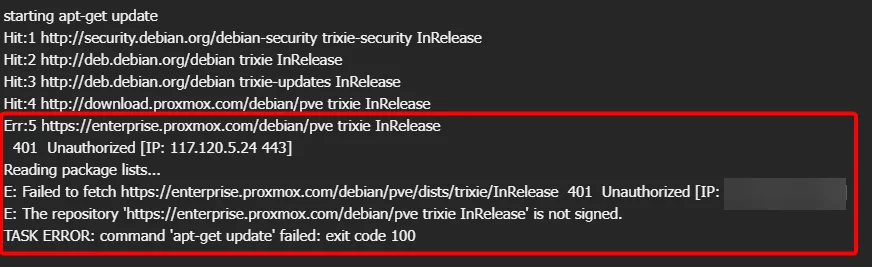
Now run these commands.
rm /etc/apt/sources.list.d/pve-enterprise.sourcesrm /etc/apt/sources.list.d/pve-enterprise.list 2>/dev/nullNow test the apt update command. And it should be as you see below, without errors.
root@pve2:~# apt updateHit:1 http://security.debian.org/debian-security trixie-security InReleaseHit:2 http://deb.debian.org/debian trixie InReleaseHit:3 http://deb.debian.org/debian trixie-updates InReleaseHit:4 https://deb.nodesource.com/node_22.x nodistro InReleaseHit:5 http://download.proxmox.com/debian/pve trixie InReleaseAll packages are up to date.🤦♂️Gotcha - Proxmox NAG Screen is Back?
This can happen in some occasion. You will notice the nag screen about Proxmox does not have a subscription notice. In this case use this one liner script from Proxmox Post Install Community Script. It is safe but as usual always inspect the source just to be sure.
Here is the one liner, you must run this inside PVE Shell (not inside a container).
bash -c "$(curl -fsSL https://raw.githubusercontent.com/community-scripts/ProxmoxVE/main/tools/pve/post-pve-install.sh)"Additional Instructions:
It is recommended to answer “yes” (y) to all options presented during the process. But use your best judgement as sometimes not all answer’s needs to be
Y.
🧠 Final Thought
You just need to follow the steps, be vigilant and it will be alright. If your upgrade depends on luck instead of control, then you’re doing it wrong 😊.